- Open your ticket at the Help Desk.
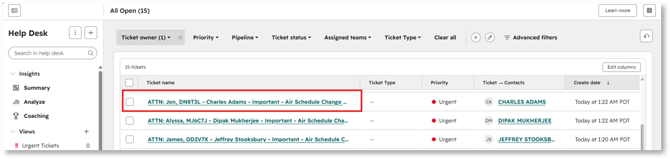
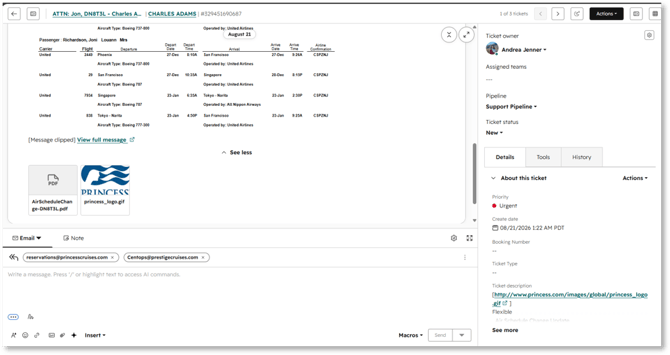
- The air schedule change message appears in the center column, with the thread starting at the bottom with attached PDF. Scroll up to view the beginning of the notification.
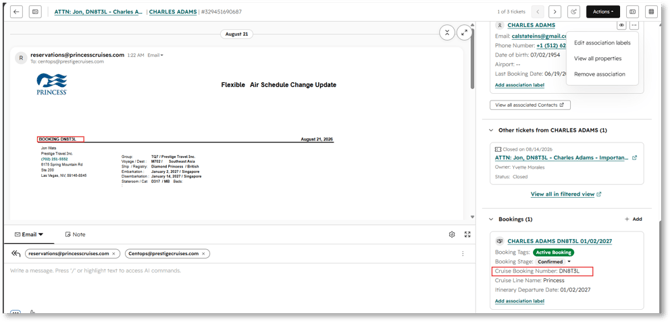
- Before working on the ticket, review the right column to confirm the ticket details are accurate. Verify the following:
- Contacts: Confirm the correct customer is listed.
- Other tickets: Check whether another ticket includes an update for the same schedule change.
- Booking: Confirm the correct booking is associated with the ticket.
Note: If the wrong contact or booking is associated, please remove them and add the correct associations.
- Pull the booking into Polar to compare this notification to the air flights listed.
- Go to “Book Flights or Princess EzAir” under passenger information.
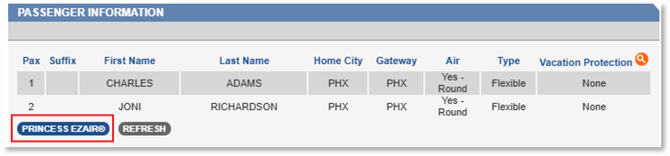
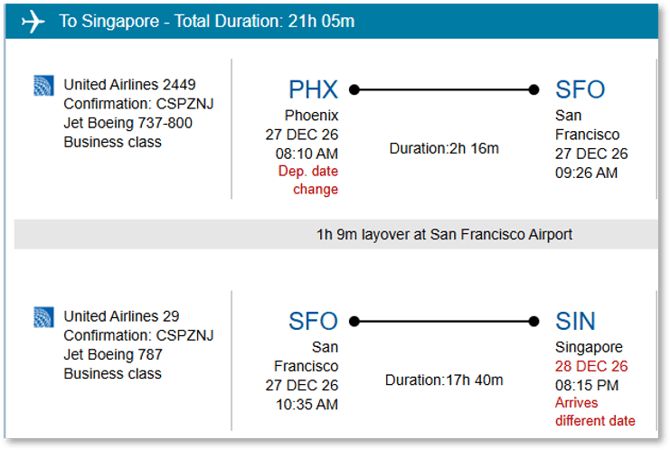
- A separate window will pop up with flight details. Compare flights shown on the notification to make sure they are the same.
➡️If Polar is different than the notification, close the ticket you are currently working on in HubSpot and move on to the next ticket.
➡️If Polar is the same, continue with the remaining steps.
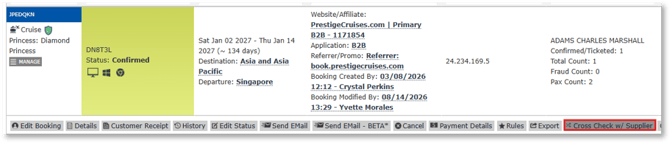
- Pull the booking into Odysseus and then do a cross-check.
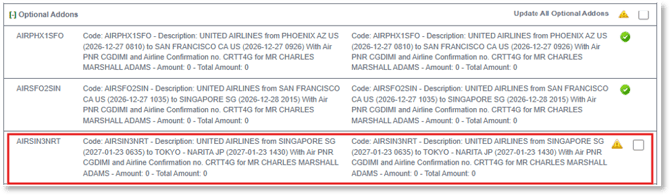
- Review what needs to be updated, the airfare will be listed as “Optional Add-Ons” and display the flight that has changed. Click on “Update Booking” listed on the bottom to update.
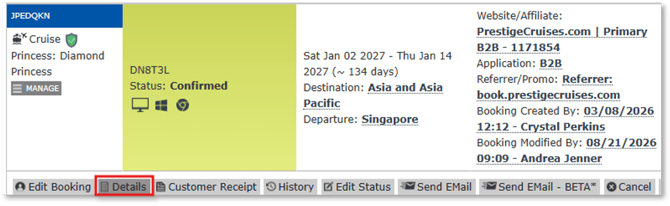
- Close the Cross-check window. Refresh the screen by pressing “F5” on your keyboard. Then go to “Details” section to open the guest confirmation.
- Go to the Guest Information section and send updated confirmation.

- Scroll down and notate that you “Cross checked booking, sent air schedule change from Hubspot.”

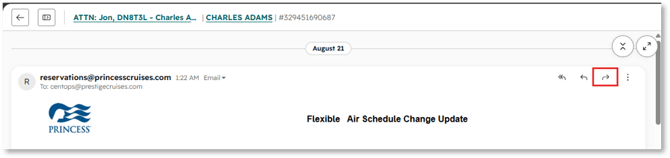
- Return to the HubSpot tab, scroll to the beginning of the Air Schedule Change update, and click the right-facing arrow (→) to forward it.
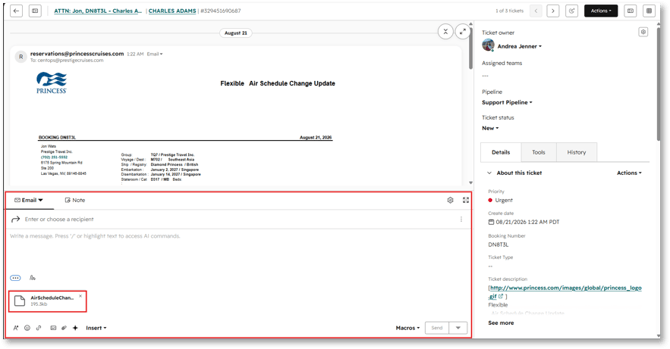
- The composed email will be below the thread, and you will see the Air schedule PDF attached.
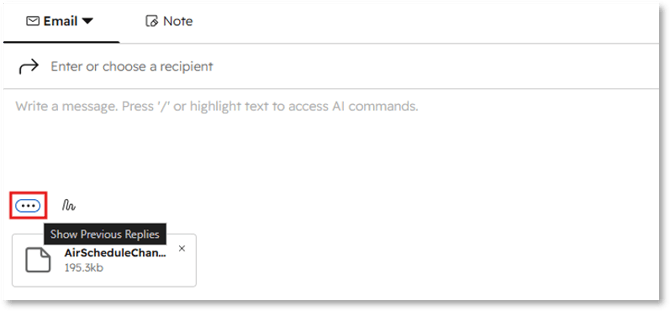
- Click on the three horizontal dots above the PDF attachment to see previous replies.
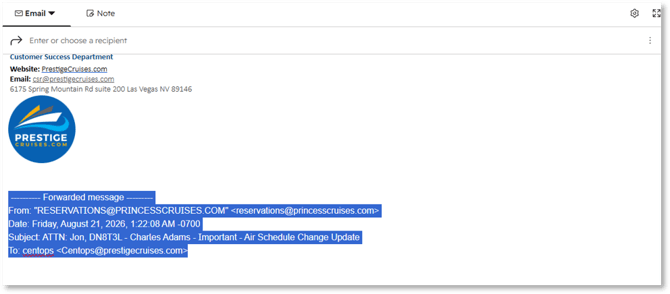
- This will allow you to clean up the email and erase the previous email thread below your signature.
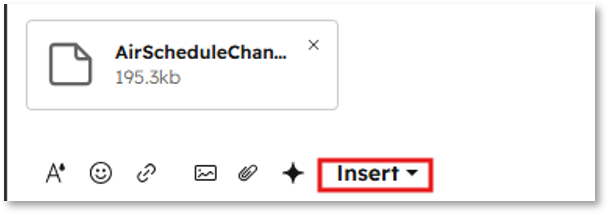
- After cleaning up the email, select “Insert” from the bottom message menu.
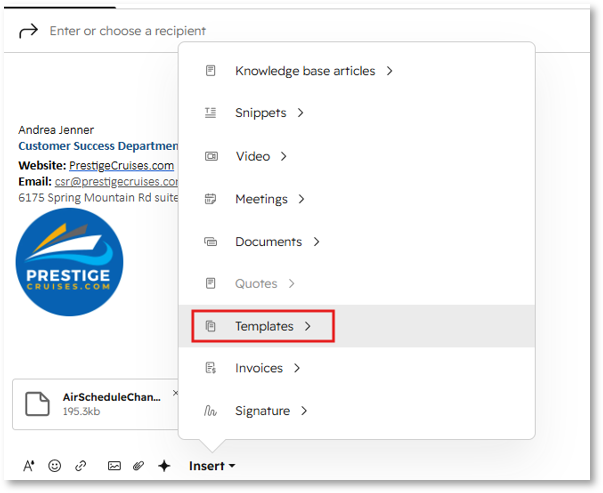
- Go to “Templates” on the pop-up menu.
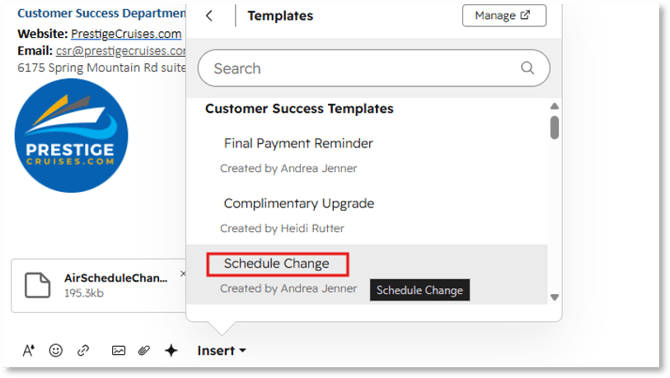
- Select “Schedule Change”
- Your template will complete the body of your email.
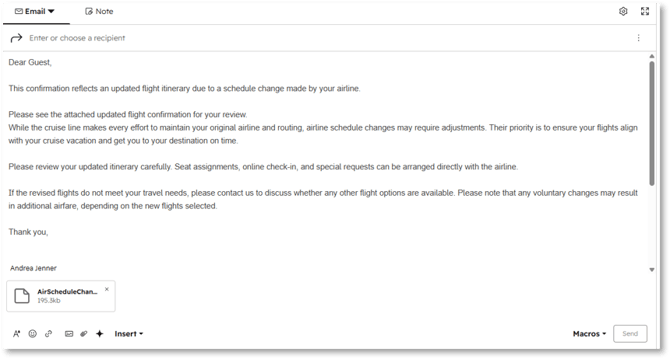
- Next, click the three vertical dots in the upper-right corner of the recipient section of your email.

- The Subject of the email will show, make sure to edit this.
Example: Princess Cruises - DN8T3L - Air Schedule Change Update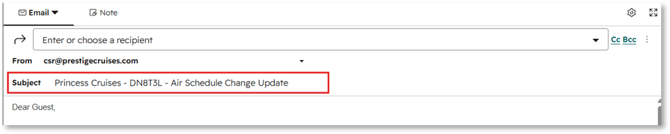
- Add the guest’s email by typing the guest’s name and selecting the correct option from the list. If you need to paste the email address, you can use CTRL + V. Right-clicking to paste does not work.
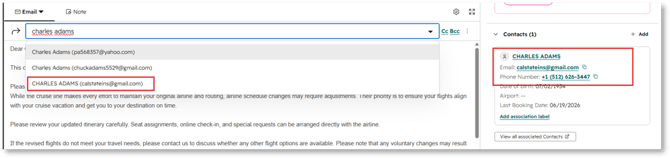
Tip: If you have pax with same name, you can easily verify the correct email by looking at the contact section to the right. - Send your email to the guest by clicking “Send.”
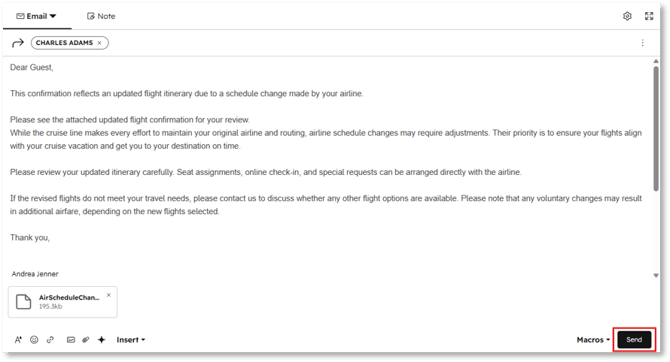
- Once the email is sent, HubSpot may take a moment to refresh and display the sent email. Once you complete, close the ticket and move on to the next one!